You can easily increase the range of your current wireless network anywhere by using a Wavlink AC1200 Wifi Extender .Your current network will be improved and more dependable.The Wavlink AC1200 dual-band wireless range extender will progressively increase the capacity of your wireless network. It boasts an extremely convenient and small design that enables hassle-free deployment.
All of your devices may be connected from anywhere in your home due to the high-performance antennae. Additionally, Wavlink setup makes a wireless connection to your network. It consequently begins enhancing your router’s signal automatically.
Wavlink AC1200 Extender Setup via Manual Method
Follow these simple instructions to set up a Wavlink AC1200 wifi extender:
- First,plug-in the range extender to the electrical outlet.
- Wait for the Green LED power light.
- Use a smart device like a mobile phone,laptop.
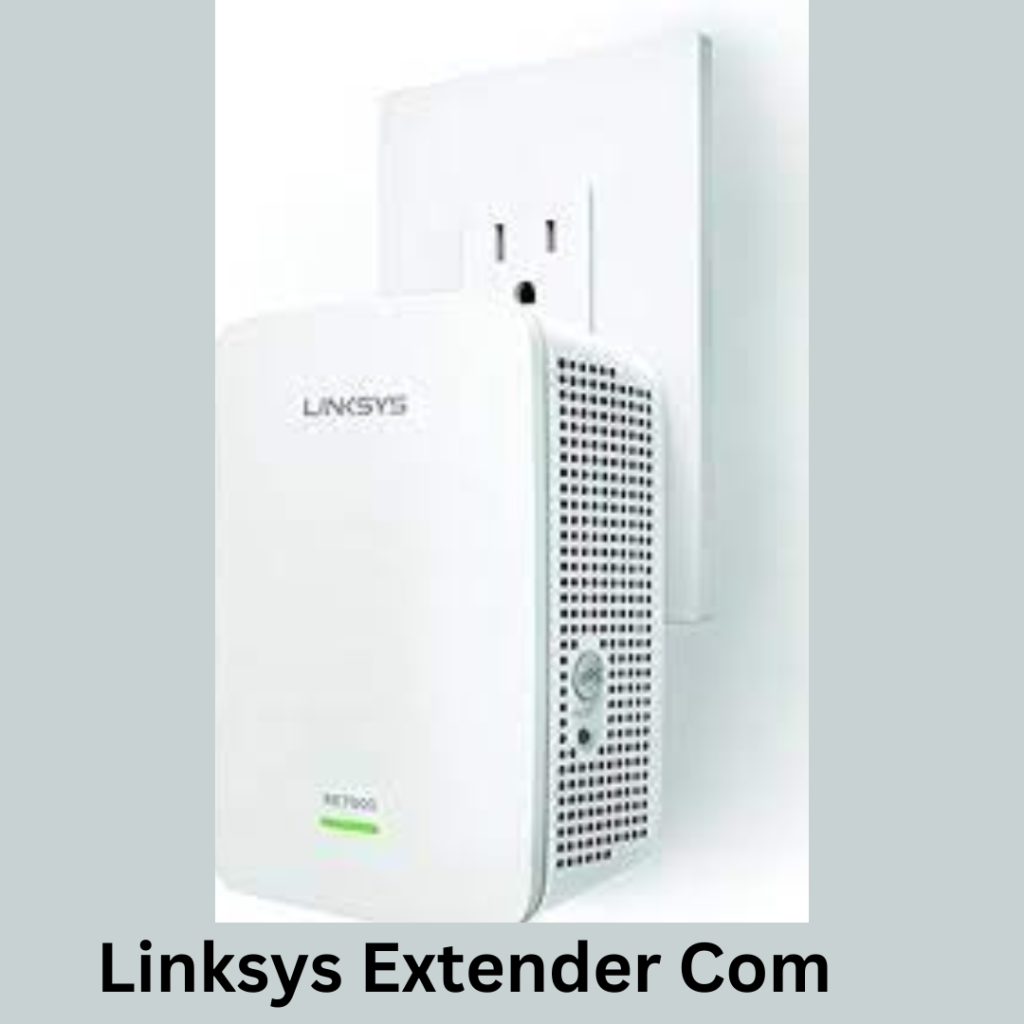
- Open any web browser and enter the wifi.wavlink.com or default IP address ,i.e,192.168.10.1 in the address bar.
- Now the Wavlink Extender Setup page will open.
- The users are then advised to input their login information in the appropriate field.
- Follow the instructions on the screen to finish the setup process.
- Unplug your extender and put it into the new location.
Now your Wavlink Wifi Extender Setup successfully completed.
Wavlink AC1200 Extender Setup via WPS Method
If your router also supports WPS, then WPS setup is a quick and simple approach to set up your Wavlink Extender.
To setup a Wavlink AC1200 Extender using WPS, follow these steps:
- First of all,plug in your extender and wait for it to power on.
- When your extension turns on, the power LED light goes solid green.
- Press and hold the WPS button on your extender for three to five seconds until the WPS LED light begins to blink.
- After pressing the WPS button on your extender, press the WPS button on your router within two minutes.
- Watch for the WPS LED light on your extender to become completely green; this shows that the extender and router have successfully connected.
- After completing the setup process , you can relocate the extender and utilise it to expand your Wi-Fi network.
Common Issues that occurs during Wavlink AC1200 Extender Setup
- Incorrect Placement: Weak signal extension can result from positioning the extender too far from the router or in locations with lots of interference.
- Weak Signal: Its extended signal will also become weak if the extender is unable to receive a strong signal from the router.
- Wrong Credentials: Incorrect WiFi network information entered during setup can prevent a successful connection.
- Firmware Outdated: Compatibility and performance issues may arise if the extender’s firmware is not updated.
- Router Settings: Incorrect router settings, such as security configurations, can hinder proper extender setup.
- Resetting Issues: Resetting the extender incorrectly can delete settings and affect connectivity.
Please be aware that these are common issues that clients may run into and that they may call wavlink customer care for more help or require specific troubleshooting methods.
Troubleshooting steps for Wavlink AC1200 wifi extender Setup issues
- Make sure the wall plug is in working order and not broken or shorted out before connecting the extender.
- Your gadget must be quickly linked to the internet.
- Verify that the extender has enough power coming from the wall outlet.
- Your wavlink extender must have the most recent firmware installed.
- Use only the most recent version of your web browser to log into your wavlink.
- Check each electrical connection. Any broken cable should only be used at your own risk.
- Make sure you’ve typed the correct URL if you’re experiencing difficulties accessing the wifi.wavlink.com web-based setup.
Firmware update for Wavlink AC1200 Wifi Extender
Updating the firmware on your Wavlink AC1200 WiFi Extender is essential. Your extender’s performance can be enhanced, and updates to the firmware update. It may resolve faults or problems that present in the Wavlink Extender.
Here’s how to upgrade the firmware on your Wavlink AC1200 WiFi Extender:
- Ensure the Wavlink Wifi Extender is power on and connected to your computer.
- On your computer, open a web browser and enter wifi.wavlink.com or default IP address into the address bar.
- Choose “Firmware Upgrade” from the “Administration” menu by clicking on it.
- Locate the firmware upgrade file you got from the Wavlink website by clicking the “Browser” button.
- To begin the firmware upgrading process, click the “Upload” button.
- Wait for the firmware upgrading process to be completed.
- Once the procedure is finished, the extender will restart automatically.
Factory Reset for Wavlink AC1200 Wifi Extender
You might need to restore the factory default settings on your Wavlink WiFi extender if it isn’t working properly.
To reset your Wavlink AC1200 WiFi extender, follow these steps:
- First, plug the extender into an electrical outlet to reset the Wavlink AC1200.
- Find a factory reset hole on the side of the extender.
- You can use a paper clip or pin to reset your extender.
- Press the reset button next to the hole for 8 to 10 seconds.
- Now your Wavlink extender has been successfully reset.
If you still require help with your Wavlink AC1200, call our toll-free number or use our live chat service. We’ll always be available to assist you with any problems.